Sunday, February 23, 2014

How I Organize Documents for my Etsy Shop

I am SO grateful for the success I have had with my Etsy shop, Precious Prep.  While to some it may seem like nothing, to me it is amazing and I love that other people love my products and want to buy them!  So with success also comes work, and there is a lot more work than you would think!  If you are a fellow Etsy (or any business) owner you know what I am talking about!

So if you are just getting started, here is how I organize my documents!  Hope you find it helpful!


I try to keep everything in one place so I don't lose anything.  On the right side of this folder I keep the receipts from anything I buy online.  So anything from eBay or Amazon pretty much.


On the left side are the receipts from stores when I buy supplies or material in the green paper clip.  In the pink paper clip are all my receipts from the post office.  I recently started buying my shipping labels online so those will be stored in my Etsy account for my reference. 


Finally is just a fun item, I started keeping track of where I get orders from.  I just color in every state whenever I get an order.  Actually I've colored in a few more since I took this picture!  So exciting to see the map getting filled in!


I know it isn't much but I hope you all find it helpful and useful!  Please comment below if you want to see more posts about running an Etsy store!  And don't forget to check out my shop :)


Wednesday, February 19, 2014

DIY Monogram Chevron Binder Covers

Check out my new blog: Sugar Spice and Sparkle!


There are two things I love in life: monograms and chevron.  Okay so maybe I love way more than that but for the purposes of this post lets pretend those are the two main things ;)

So here we have a great DIY that combines those two and brings them into your everyday life!

Binder covers!!  I know school can be a bit... drab, but these binder covers will brighten up each and every class!

Just a few easy steps and you'll be ready to print out and use your new beauties by the next school day. Not in school anymore?  These are also perfect for family documents and organization binders!

The first step is to go back here and read my "How to Chevron" tutorial.  All you need is Microsoft Word (and maybe a little patience, lol)

Next add a circle (or oval, or square, or rectangle... whatever floats your boat) anywhere on the page.  I like mine in the center towards the top.  Maybe you like yours dead center or in the bottom left corner (why?).  You get the point - somewhere on the page.  Format the shape to be white with a black line.

Click on this:

To get this:


Third you'll need 3 text boxes inside your shape.  The center one will use a larger font size than the other two.
Now click on this:

If you don't like any of the Microsoft Word fonts that are cursive looking, just Google or go on Pinterest and search for a monogram font.  Click here to see a great board of free fonts ;)

Now use the font you love and type one letter of your monogram into each of the text boxes.  Position them accordingly and you are all done!  Print that baby out and put her on a binder or notebook.


Having a hard time making it look right?  Don't have the time for all this?  Head over to Precious Prep and I'll make one for you!  Actually I'll make 8 for you!  Check it out here.

Don't forget to follow me on Instagram, Twitter, Pinterest, etc.  Use the buttons to the right :)

Let me know if you have questions and how yours turn out!
~Katie


Wednesday, February 12, 2014

DIY Headband Tutorial (Super Easy!)


Follow me on Instagram

I've seen several cute headbands, like these I am about to show, on Pinterest.  But none of them (that I have seen) have tutorials!  So here is my (very detailed) tutorial for making these super quick and easy headbands!  Don't be discouraged by the length of this tutorial, these come together really quickly!  I just wanted to be super detailed in my tutorial.

These headbands are now available for order in my etsy shop, PreciousPrep! (New colors just added!)

Step 1:
Cut two long strips of stretchy knit fabric 6" by 22" each (approx. if you have a really big or small head you may need to adjust the length, I think my head is normal to big... haha)


Step 2:
Fold each piece along the long side with right sides together and sew all the way up.  Again no real need to be precise, and even if I tried to be precise I failed because stretchy fabric is tough to sew with!!


Step 3:
Turn each tube inside out.


Step 4:
Lay the pieces in a '+' shape.  Make sure the seams are in the middle, facing up for the bottom piece and facing down for the top piece.


Step 5:
Fold over the bottom piece (you shouldn't be able to see this piece's seam now)


Step 6:
Fold the top piece in half (again now you shouldn't see that piece's seam)


Step 7:
Bring all 4 ends together and sew across.  This is kind of tricky to get all these slippery strips together, but as usual - precision isn't super necessary!  Love projects where you don't have to be perfect!


Step 8:
Cut off a little of the excess and trim the corners so they don't show as much.


Step 9:
Try it on!  Sooooo comfy!


Step 10:
Make a bunch!  I plan to buy some more fabric and make even more for different gym outfits!


Well what do you think? Hope you enjoy yours as much as I am already enjoying mine!

Wednesday, February 5, 2014

Nautical Dorm Decor {Tutorials}

Check out my new blog: Sugar Spice and Sparkle!


I have been meaning to write this post for about 6 months now!  But time flies and I have been SO busy.  Luckily I am finally getting around to it because my favorite thing is nautical anything!  And I know many of you feel the same so I hope you enjoy!


My dorm room did not start out as nautical but eventually it has become that way and I love it!

First are my hand painted nautical cork boards!  Get the full tutorial back here.  A quick summary on the how to is to go get a 3-pack of cork boards at Ikea and paint nautical shapes onto them.  It really is that easy!


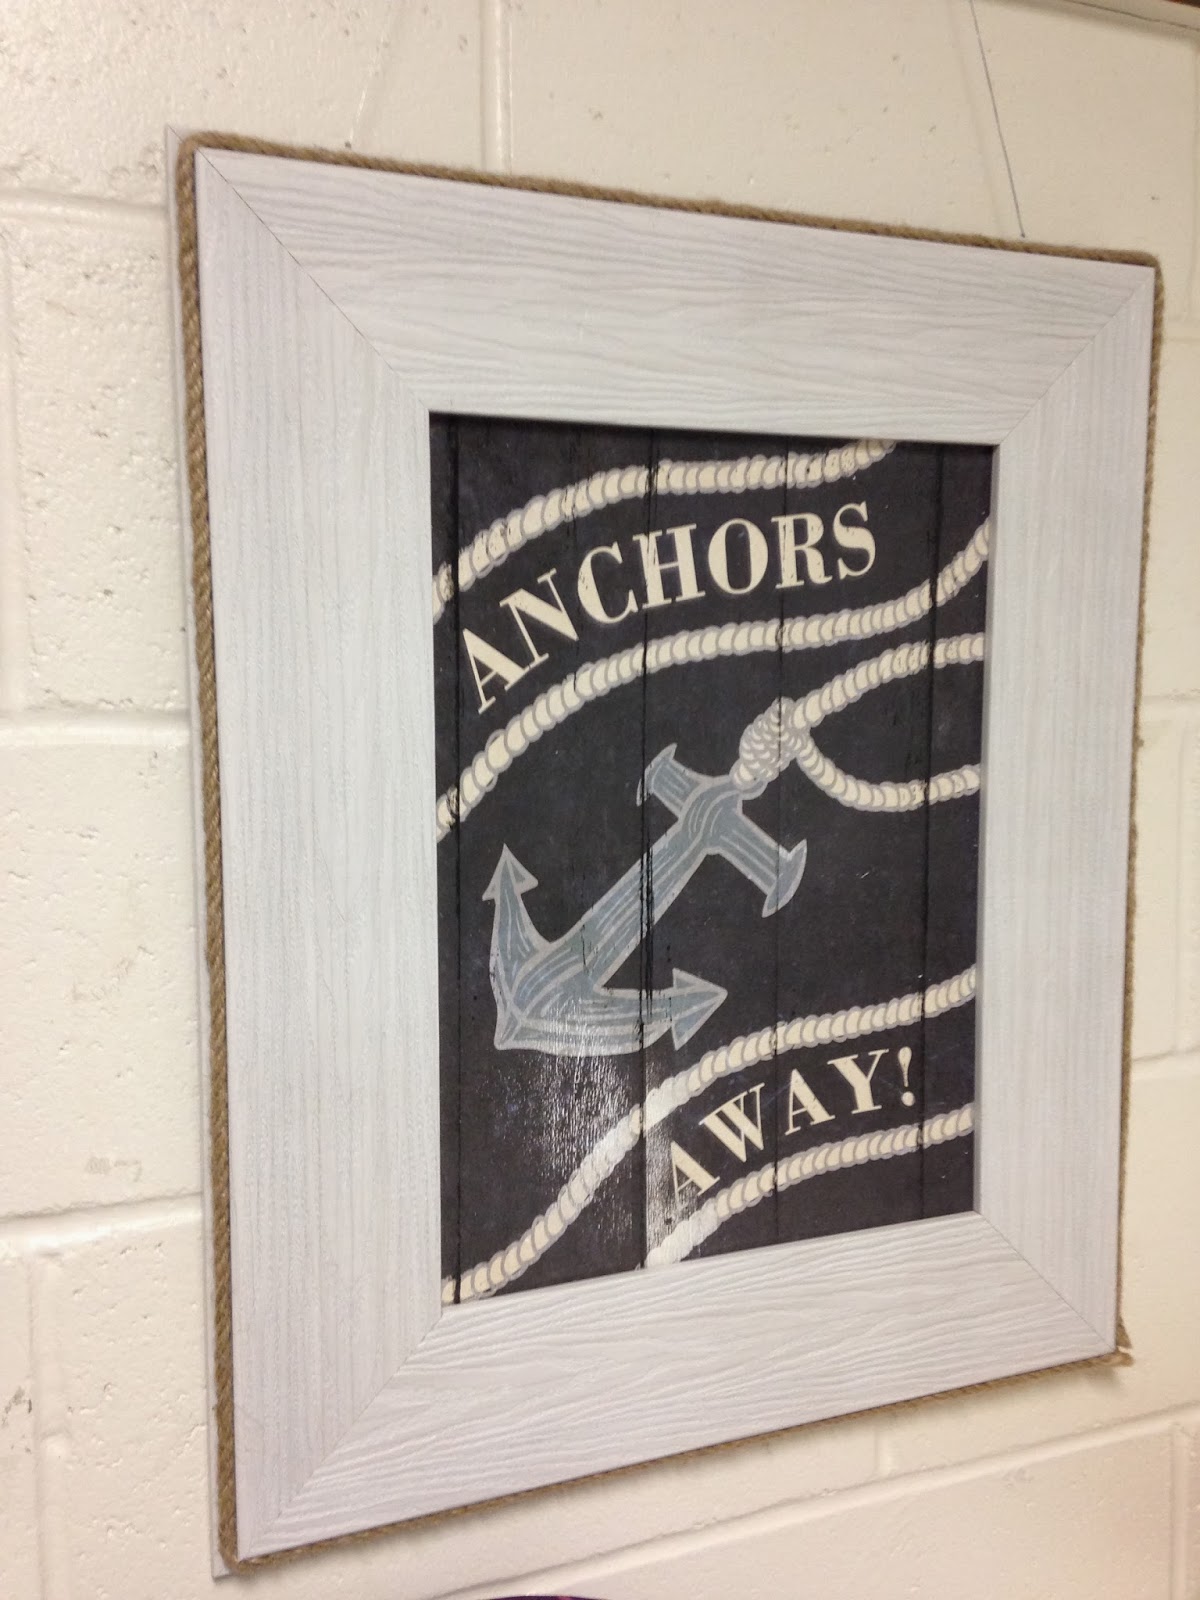
Next is my 'Anchors Away' hanging picture.  I got is at Kirkland's Home quite a while ago, so I am not sure if they still have it or not.  Kirkland's is a really great place for unique home decor though, and they seem to keep the nautical theme in their rotation, so I am sure you would be able to find something great!


Finally is my hand painted nautical flag canvas.  Keep reading for a tutorial on that!


I got a pack of 9 or 10 little canvases (8" x 10") at Walmart for $10.  When I purchased them I had so many big ideas!  Yet this is the only one I've used so far - 4 months later.  Oh well, thats a story for another time, onto the tutorial!

(Please excuse my pictures, as you can see I made this on my dorm room floor using a lovely Forever 21 bag to keep paint from getting everywhere :)

I just used the paints from an art set I've had forever that I purchased at Michael's.  You can kind of see it in the corner of this pic:


 Then I went to trusty Google to see what all the nautical flags looked like.  You can do your own search or click here for the one I found.  I used a ruler to space out and draw the squares somewhat evenly.  Then I just free-handed the flags inside each square.


 I used red, white, blue yellow, and black paint.  As you can see from this close up it is FAR from perfect, but hanging on my wall it looks nice and really brings the nautical theme of the room together.  After I took this picture I also took a black Sharpie and drew around each square to better define them.


And one final thing: nautical bracelet!  So this isn't "decor" but I just wanted to share it with you :)

I found these little anchor charms on eBay (I think I got 50 for $5 or something - super cheap!) and then made a simple friendship bracelet attached to it.


Its nothing too special but I really like it.  Maybe I'll put the other 49 charms to use soon and create something new ;)

Thanks for reading and don't forget to follow me on Instagram! kraftiekatie


Monday, February 3, 2014

Custom {Greek} Keychains

Adding a new item to my shop is always exciting!  Today I added these greek letter custom keychains!


You can select up to 4 greek letters and I will embroider them onto a ribbon of your choice.  Plus you pick the coordinating webbing and thread color too!


So support you sorority, fraternity, or other greek organization today and order one!


Check out my tutorial on how to make these cuties over here :)


Have an awesome day!

Saturday, February 1, 2014

Makeup Bag Tutorial {+Monograms}

Go right ahead and make yourself comfortable because you are in for a long ride!  You know how I love a good, detailed tutorial so here we go!

Head over to PreciousPrep to check out what I make and sell - including these monogrammed makeup bags!  Order one today if you don't feel like making your own with my tutorial!


1. Cut out your material.  I start with a 9" x 12" piece of felt that I buy pre cut.  Then I lay that on my fabric and cut around it.  Finally cut that exactly in half so you have 4 pieces, all 9" x 6".  You will also need 2 small pieces to use as the zipper end covers (approx 2" x 3").


2. Add embroidery to one of your fabric pieces!  I love monograms! Sometimes I also just use an initial.  I also just added Greek letters to my collection.  (Remember, all of this is available to you at PreciousPrep!)


3. Fold over one edge of your zipper end cover. 


4. Lay the zipper face down, and wrap the fabric around the end, placing the folded over side towards the zipper.  Then sew a straight stitch near the edge, make sure you grab the fabric and zipper.


5. Repeat on the other end, you should end up with this:


6. Lay down your fabric, right side up.  Lay the zipper on the top, face down (aka facing the fabric).


7. Now lay a piece of felt on top, make sure all the edges line up at the top.  You should have fabric, zipper, felt.


8. Sew through all three layers at the top.  You could use a zipper foot here but I personally do not like to use one because I can never go in a straight line!  Anyone else have that problem? Any ways - just let the edge of the foot be right up against the zip part of the zipper.  The end with the zipper pull can be a little tricky, but just push it on through!


9. Next sew a top stitch.  I never used to do this because I thought it was a waste of time and thread but one time I tried it and it really makes a difference!  So just do it! ;)


10.   Now you are going to do all of that again on the other side.  Starting back at step 6!  When you're done you should have what you see below.  Make sure you open the zipper now!


11. Now take the 2 fabric pieces, right sides together, and sew all along the edge - only on the fabric part.  Then take the corner and mark about 1" from the point.  Draw a line or some sort of marking there:


12.  Sew across your line and then cut off the corner.  This will give your bag a flat bottom and allow you to fit more stuff in there!  Repeat for the other side.


13. Now match up the edges of the felt and sew along there, using a slightly larger seam allowance than you did on the fabric part.  Make sure you leave a turning hole on one of the sides or the bottom!


 Turning hole:

14.  Now do the same thing for these corners as you did for the fabric part:


15.  Turn the bag right side out.  You should still see the felt on one half and the fabric on the other.  Now is when you should sew up that turning hole:


16.  Push the felt down into the bag and use your fingers to get the corners all matched up at the bottom.  You did it!  You survived the world's longest tutorial and have a great, personalized makeup bag as your reward!


Bonus step! Make a bunch for your friends, sorority sisters, or bridesmaids!  Or order them from me!  I would love to create something special with you!  In my shop, PreciousPrep, YOU pick the fabric, thread color, and type of personalization (monogram, initial, greek) you love!  


Thanks for reading! As always, leave me comments with any questions!